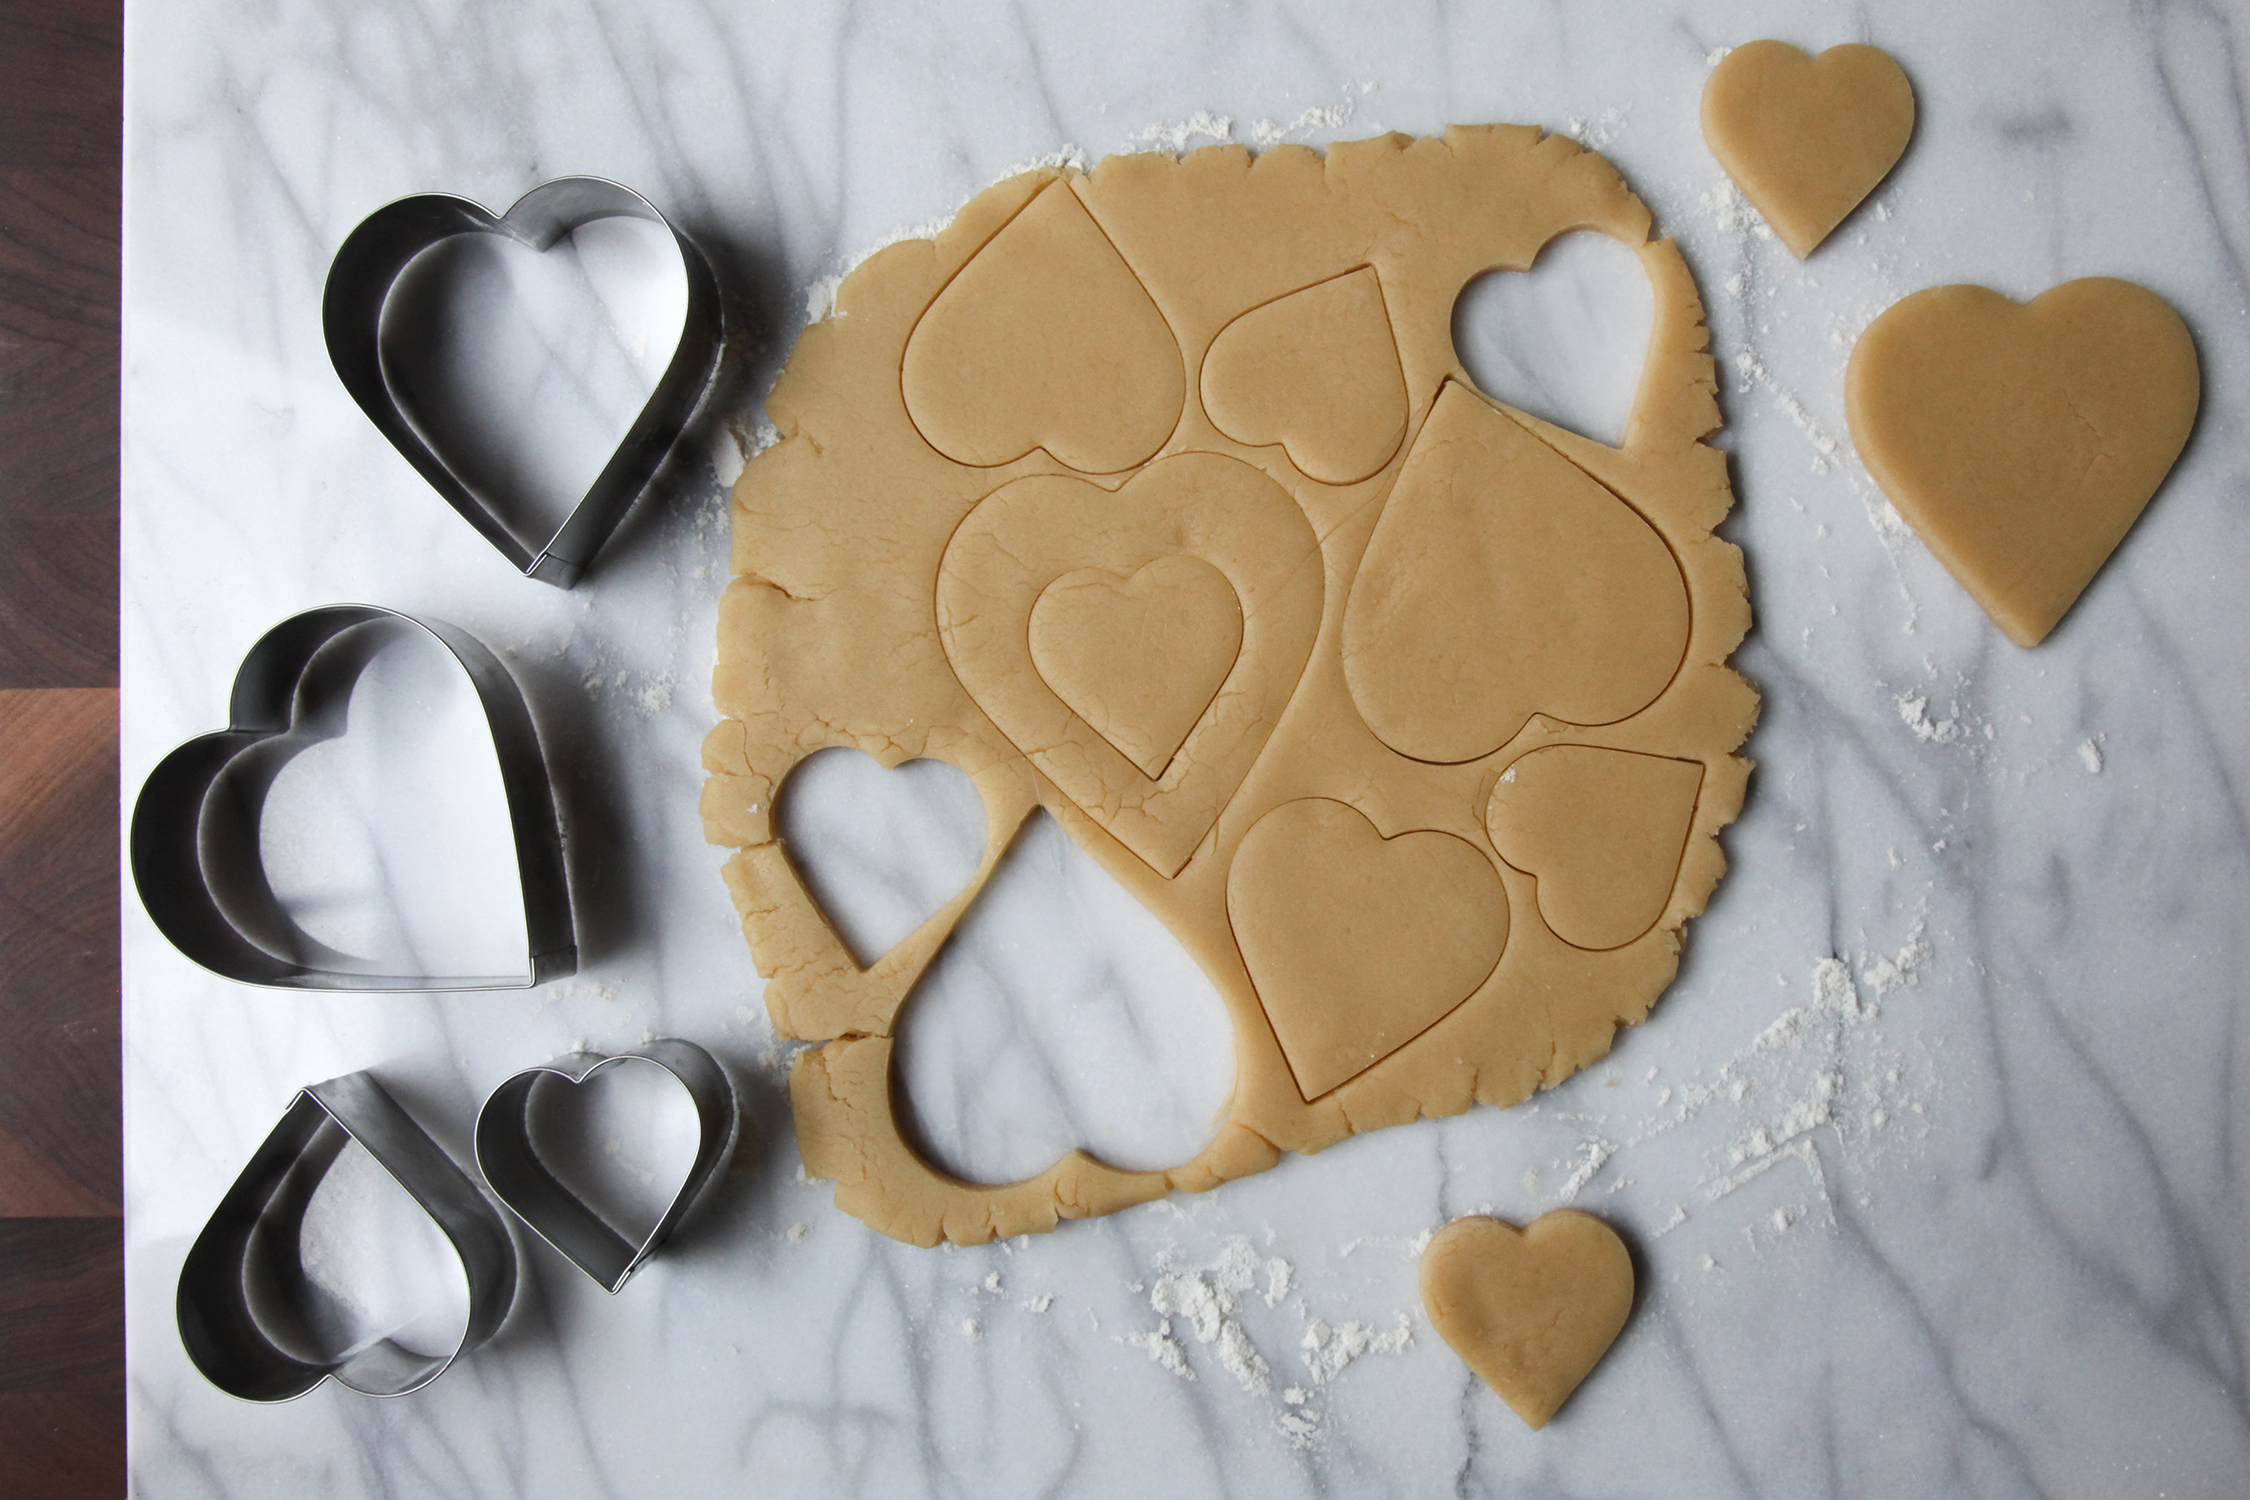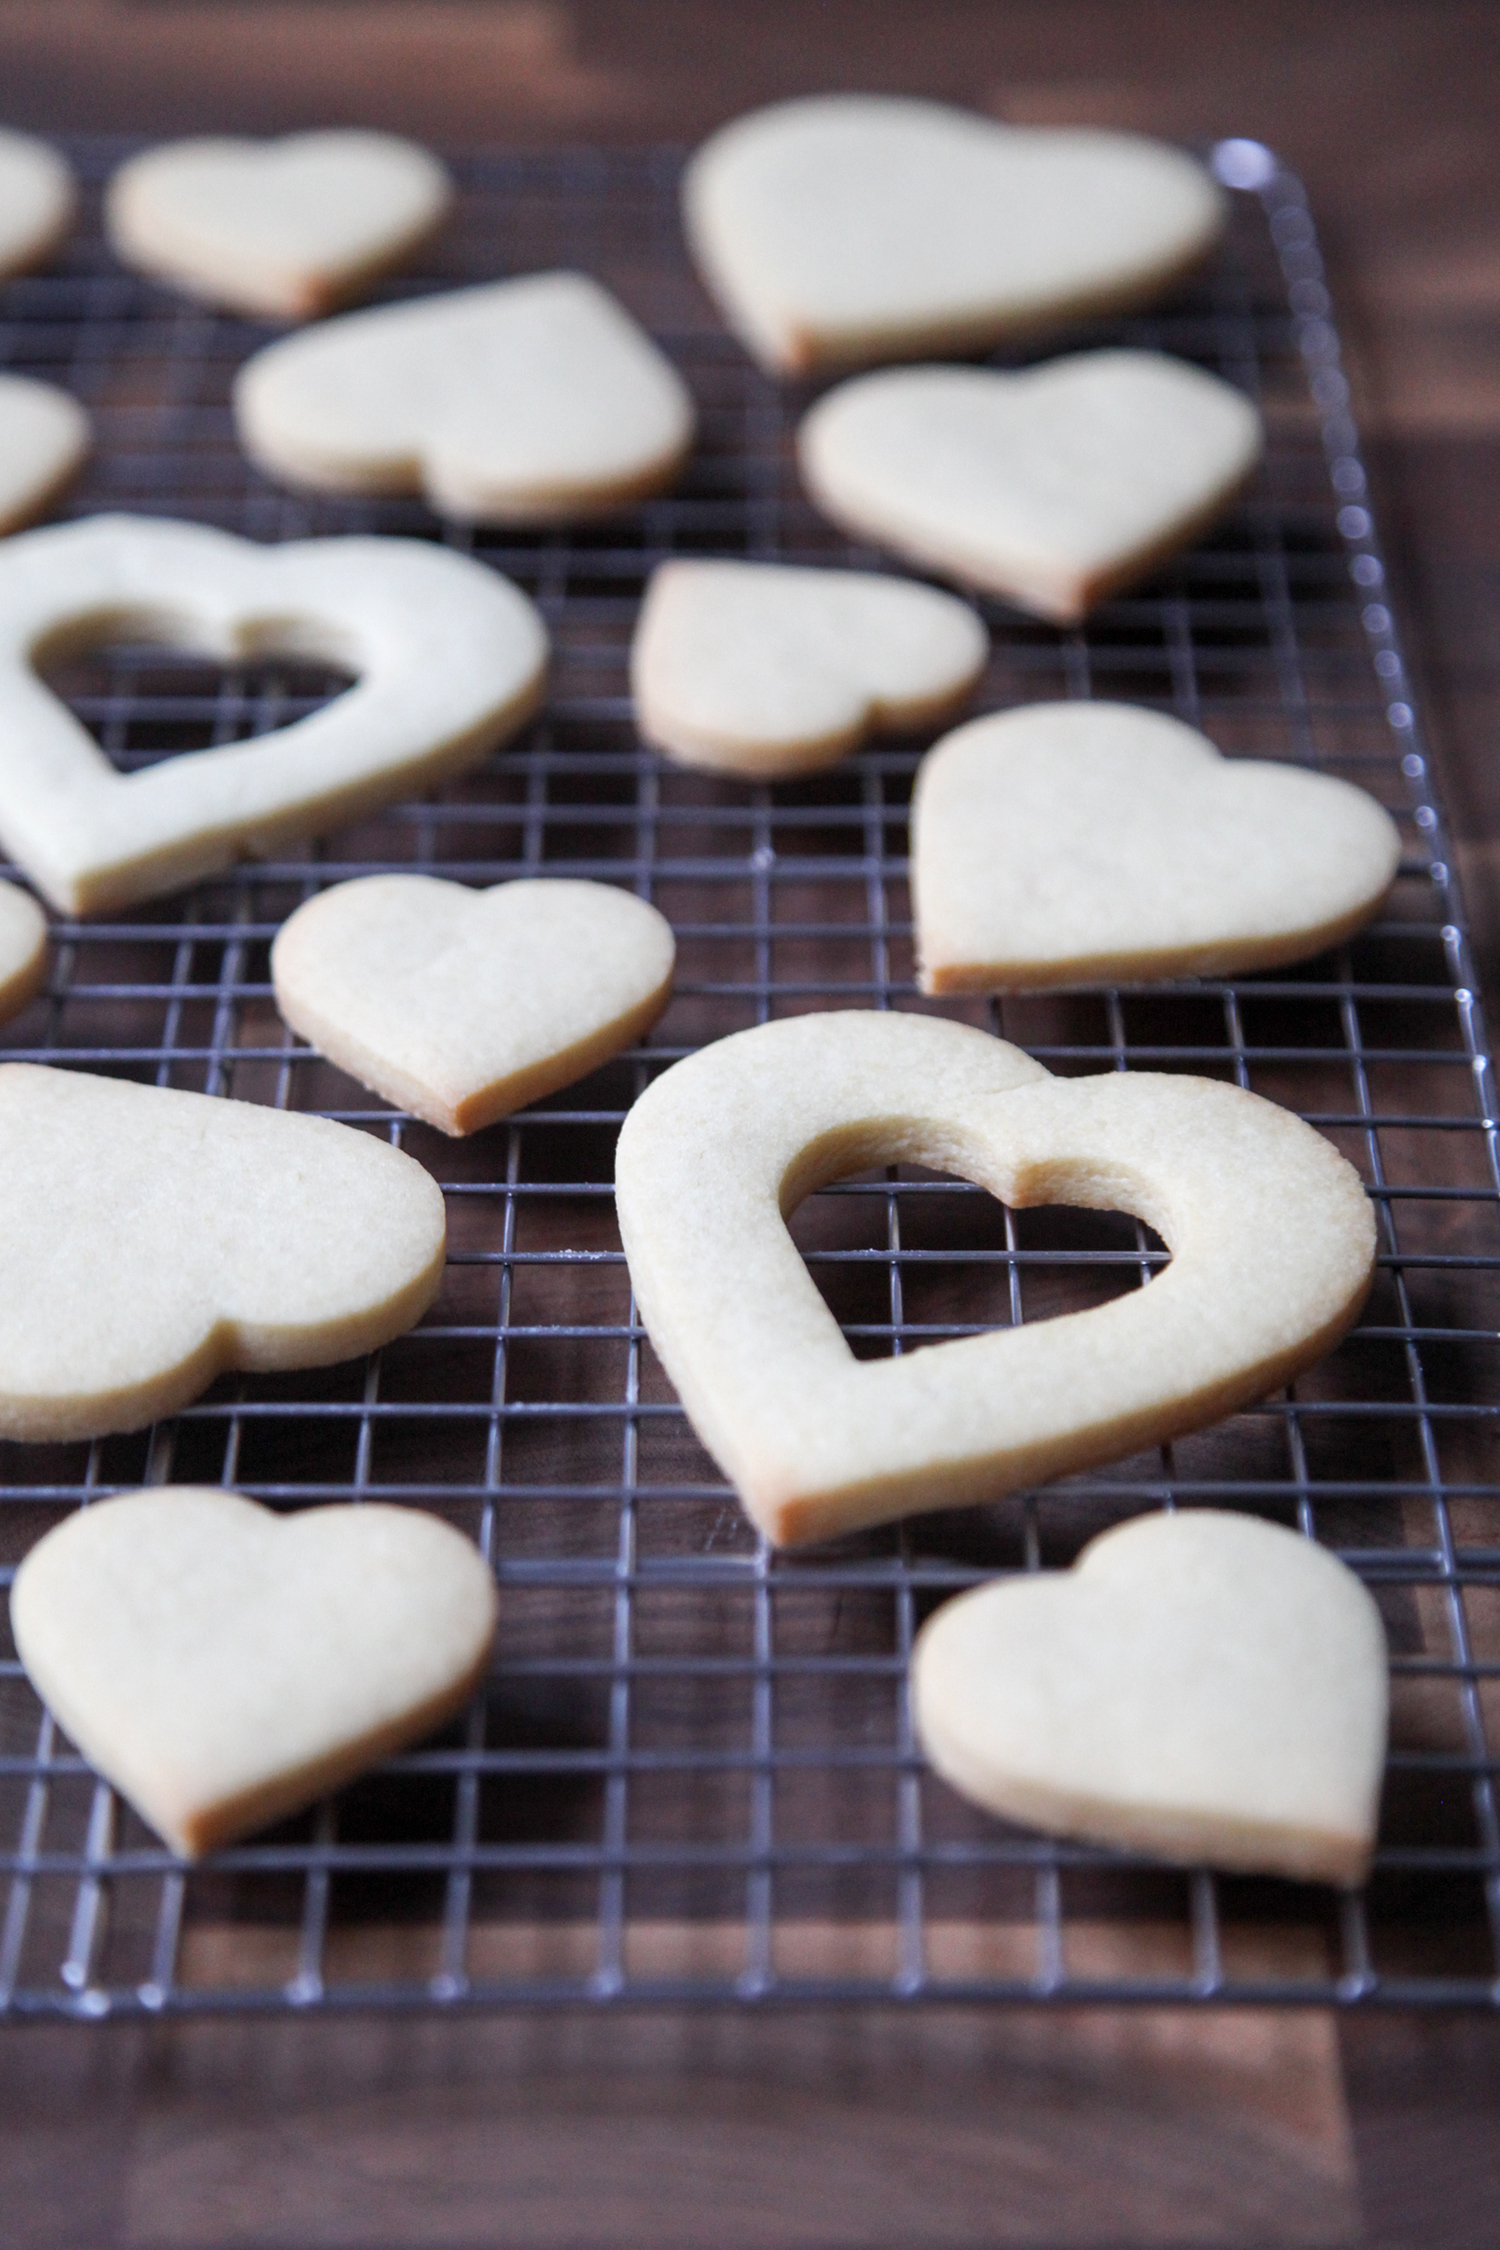
Nowadays, most of what comes out of my kitchen are savory everyday things like bean soups and kale salads, but baking was what first piqued my interest in the culinary world. I still enjoy it — there’s something so magical about transforming butter, flour, and sugar into a treat so much greater than the sum of their parts — but it’s more of an occasional, whimsical thing. (One cannot live on sweets alone.) Cut-out sugar cookies, like these hearts, are a long-time love of mine, one of the first things I remember baking.


Back then, during my single-digit years, my role was more chief decorator than baker, stamping out shapes and meticulously-decorating each and every cookie with sprinkles (I was, and still am, a perfectionist). But now I revel in the whole process, from creaming together butter and sugar to piping cheery royal icing around the edges of each cookie.

This recipe isn’t the one I (or rather, my step-grandmother Grenelle) used when I was little, but it’s a recipe I’ve turned to more times than I can count. Sourced from Alton Brown, the dough is very flavorful — I add more salt than Brown does — and the instructions are pretty much foolproof, both things that can’t be said about many cut-out sugar cookie recipes. The dough isn’t super sticky, and the cookies don’t puff up much, losing their shape; instead they bake into sturdy, yet tender treats.

Baking and decorating these cookies is a somewhat-lengthy process, but it’s one that I genuinely enjoy, and I suspect you will too. If you don’t have a whole afternoon to dedicate to it, the dough can be made ahead ready to be rolled out, stamped, and decorated the next day. Once baked and decorated, these cookies taste fresh for at least a week, so the effort is well worth it (they’re also an ideal sweet for shipping to far-away loved ones for this reason).

- For the dough:
- 3 cups (15 ounces) all-purpose flour
- 3/4 teaspoon baking powder
- 1 teaspoon kosher salt
- 8 ounces (2 sticks) unsalted butter, at room temperature
- 1 cup (7 ounces) granulated sugar
- 1 large egg, beaten
- 1 tablespoon milk
- 2 teaspoons vanilla extract
- For the icing:
- 24 ounces powdered sugar, sifted
- 3 large egg whites
- Red and pink gel food coloring
- Sparkling sugar, for decorating
- Whisk together flour, baking powder, and salt in a medium mixing bowl.
- Using a stand or hand mixer, cream together the butter and sugar, until light in color. Add egg, milk, and vanilla, and beat to combine. Add the flour in 2 additions; beat until mixture pulls away from the side of the bowl.
- Divide the dough in half, shape into a disc, and wrap in plastic wrap; refrigerate for 2 hours.
- Preheat oven to 375°F. Line 2 half-sheet pans with parchment paper or a Silpat.
- Dust a clean countertop with flour; dust a rolling pin with flour as well. Using 1 half of the dough at a time, roll out the dough until it is 1/4-inch thick. Move the dough around and check underneath frequently to make sure it is not sticking. Cut into hearts, carefully transfer to the prepped pans, placing the cookies 1 inch apart. (If the dough sticks to the cookie cutters, first dust them in flour before stamping out.) Press the dough scraps together and reroll and cut out cookies until all of the dough has been used.
- Bake for 7-9 minutes or until cookies are just barely beginning to turn brown on their bottoms, rotating cookie sheet halfway through baking time. Let the cookies firm up for 2 minutes on the pan, then carefully transfer to a cooling rack. Store in airtight container for up to 1 week.
- While the cookies cool, combine the powdered sugar and egg whites in the bowl of a stand mixer. Mix on low speed using the paddle attachment until completely blended and the icing holds a ribbon-like trail on the surface of the mixture for 5 seconds when you raise the paddle. If it's too thick, add water 1 teaspoon at a time; if it's too thin, add powdered sugar 1 tablespoon at a time until it reaches the desired thickness. Divide the icing into 3 bowls (one for white icing, one for red, and one for pink). Transfer about 1/3 of the white icing to a pastry bag fitted with a small round tip (I used a #3). Cover the remaining icing tightly so that it won't dry out and harden.
- Pipe a border of icing around all the parts of the cookies that you want to decorate with white icing. While the border hardens on the cookies, thin out the remaining white icing with a little water until it's a spreadable consistency. Working 1 cookie at a time — the icing hardens fast — use a small offset spatula to spread the thinned-out icing within the icing borders. Decorate with sprinkles.
- Working one color at a time, tint the red and then pink icing using a few drops of red and pink gel color, respectively. (Always keep icing not in use tightly covered, so it won't dry out.) Follow the same piping, spreading, and decorating steps as with the white icing, omitting the sprinkles.
- Allow the icing to dry and harden completely before storing or stacking the cookies.
The cookie dough can be made up to 3 days ahead of time and refrigerated, tightly wrapped in plastic wrap. To plan further ahead, transfer plastic-wrapped dough rounds to a resealable plastic freezer bag and freeze for up to 6 months; thaw overnight before baking. Once baked, the cookies will stay fresh for up to 1 week in an airtight container.
Keep a close eye on these cookies as they bake, as they can go from perfectly cooked to brown and crisp in as little as a minute.

The hearts with the cut-out middles are so adorable. I love them. Nice work 🙂
Thanks, Charlotte! I’m pretty obsessed with that set of cookie cutters, it’s the perfect range of sizes.